

The Reactor
Solution
by Ariel Uy, Ivan Wang, and Jacqui Fashimpaur
Art: Tracey Lin, Olga Vinogradova
Tech: Ariel Uy, Ivan Wang, Oliver Ni
Additional credits: Evan Chen, Cameron Montag
Answer: NEED MORE TIMEIUM
The Reactor Door
After seeing that any of Matt & Emma’s attempts to save themselves will fail in the ship exploding, we need to find and fix the source of the explosion. First, we must locate the door by “turning around” in the cargo hold. The details can be found in the solution to Where To Next.
Next, we are presented with three locks. We can see that the door requires a passcode from each of the 3 crew members of the ship, Lucy, Houston, and Sky, in order to gain entry into the reactor. By observing information from different parts of the comic on our past timelines, we can determine each crew member’s passcode.
Lucy’s Lock
Lucy is the Arkose’s engineer and scientist, and she works in the greenhouse. After solving Botany with the power of OXYGENETICS, we see a montage of Matt and Emma doing science:
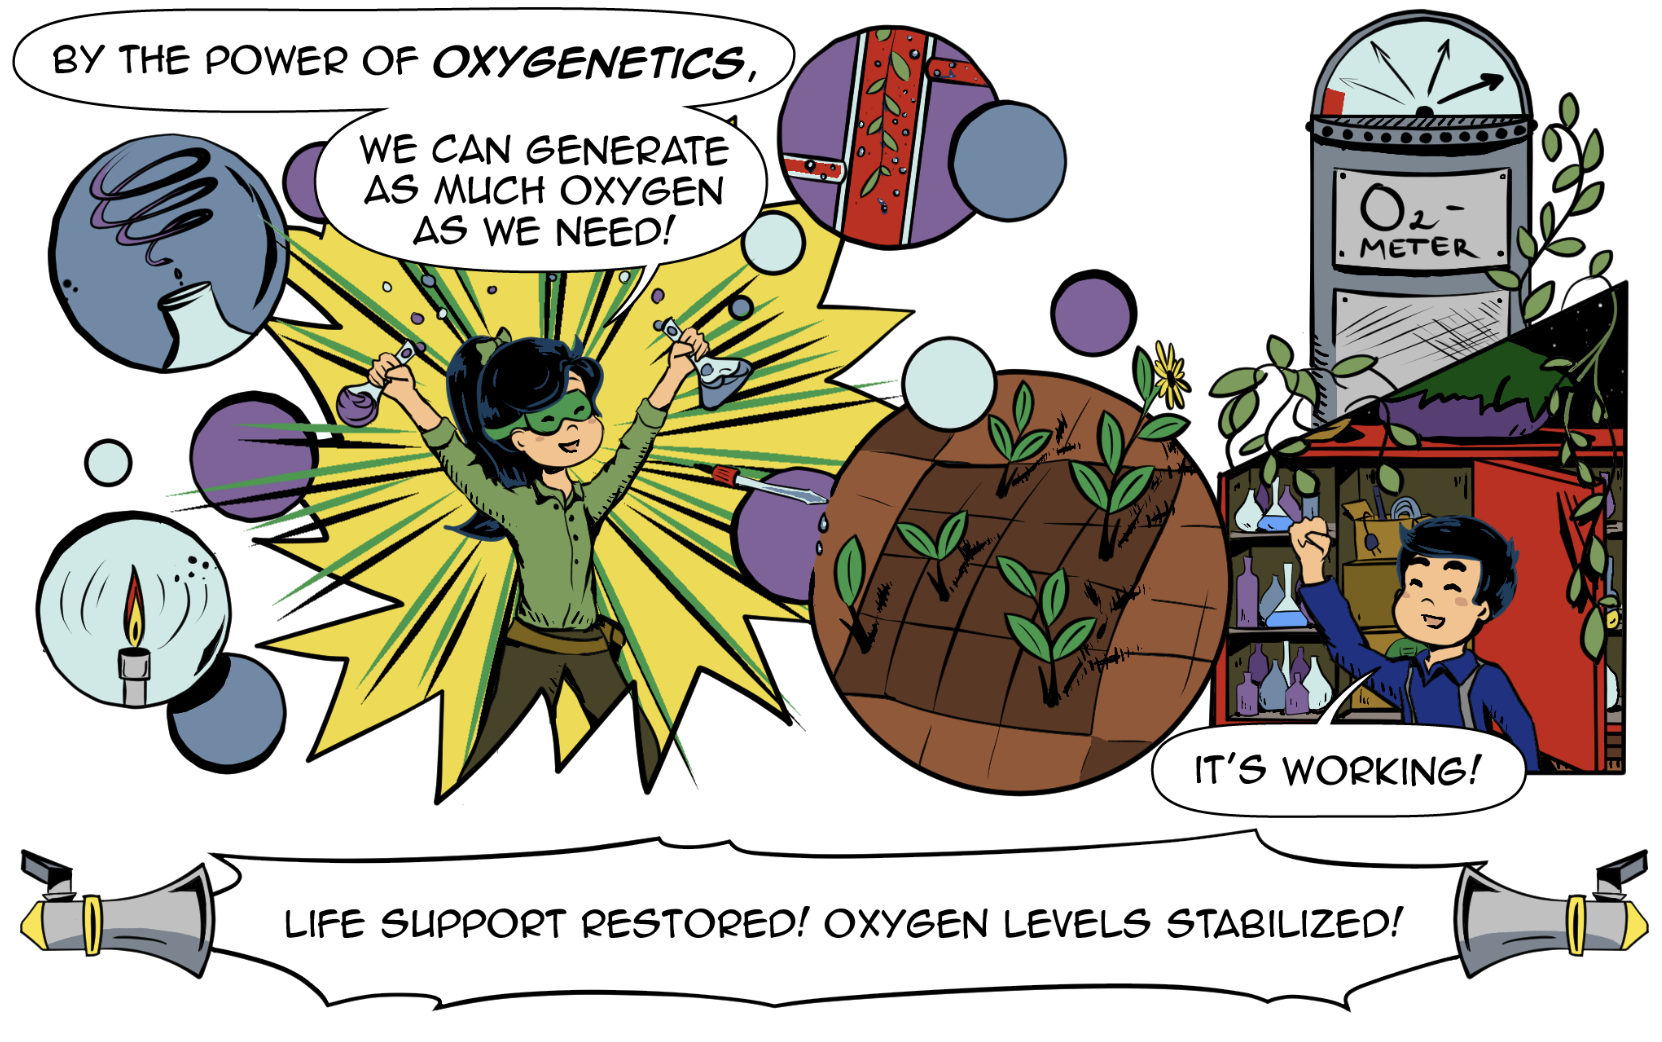
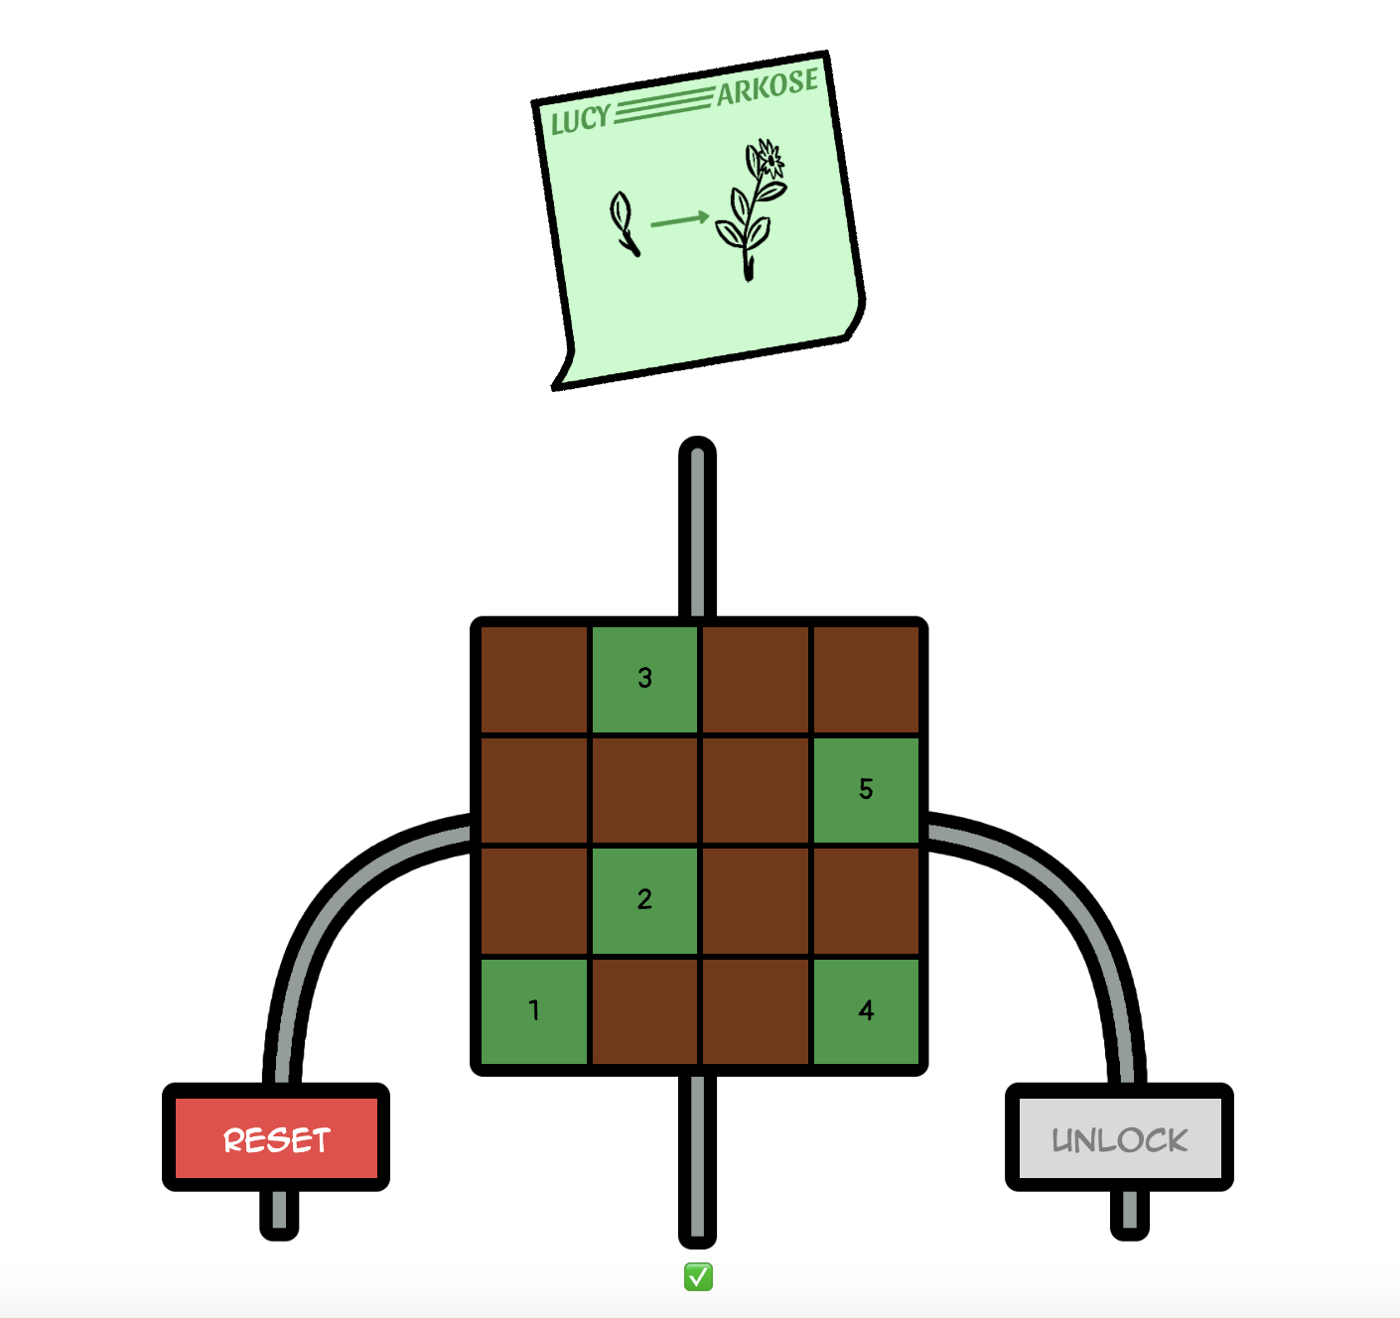
Lucy’s lock has a hint showing a small plant with 1 leaf with an arrow to a big plant with 5 leaves. The lock itself has a 4x4 grid. We notice a 4x4 grid of plants with a varying number of leaves in the science montage. By clicking the buttons on the lock starting with the plant with 1 leaf, we get a sequence of 5 inputs and open the lock.
Houston’s Lock
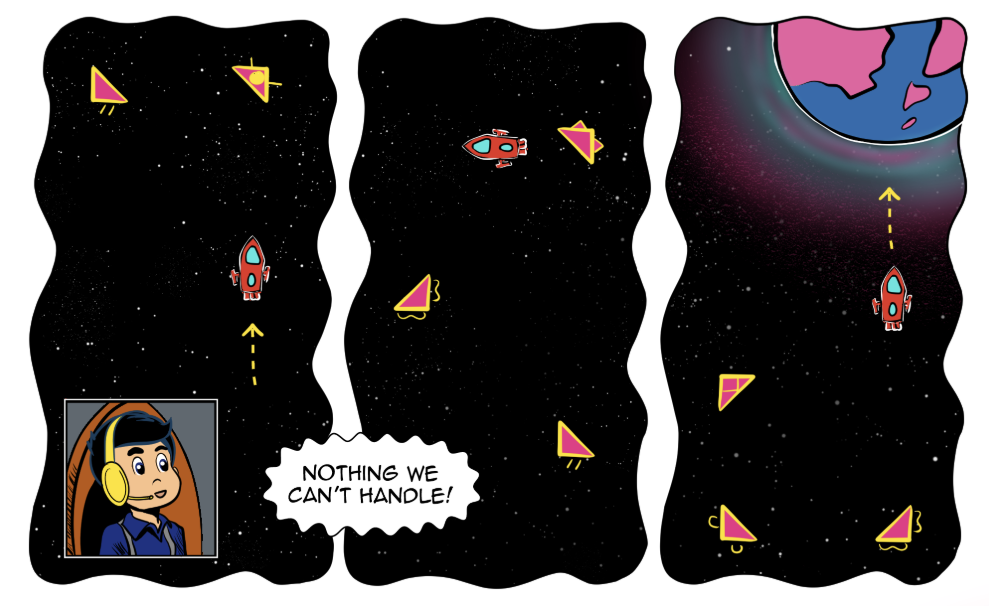
Houston is the captain of the ship, and the clues for his lock are found in the Captain’s Office round. After solving The Transmission, Matt and Emma see the Podomorph ships approaching the Arkose using the scope.
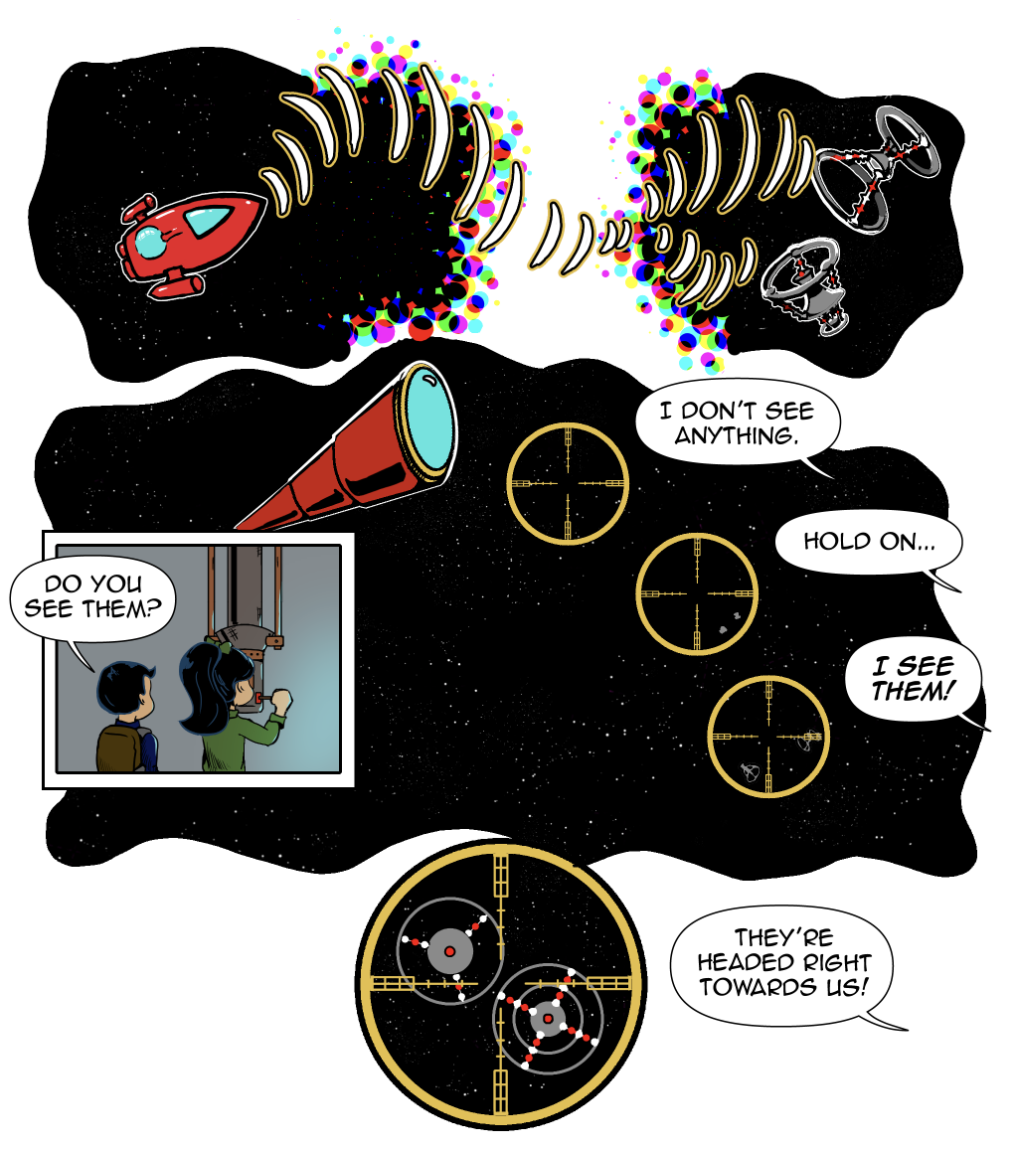
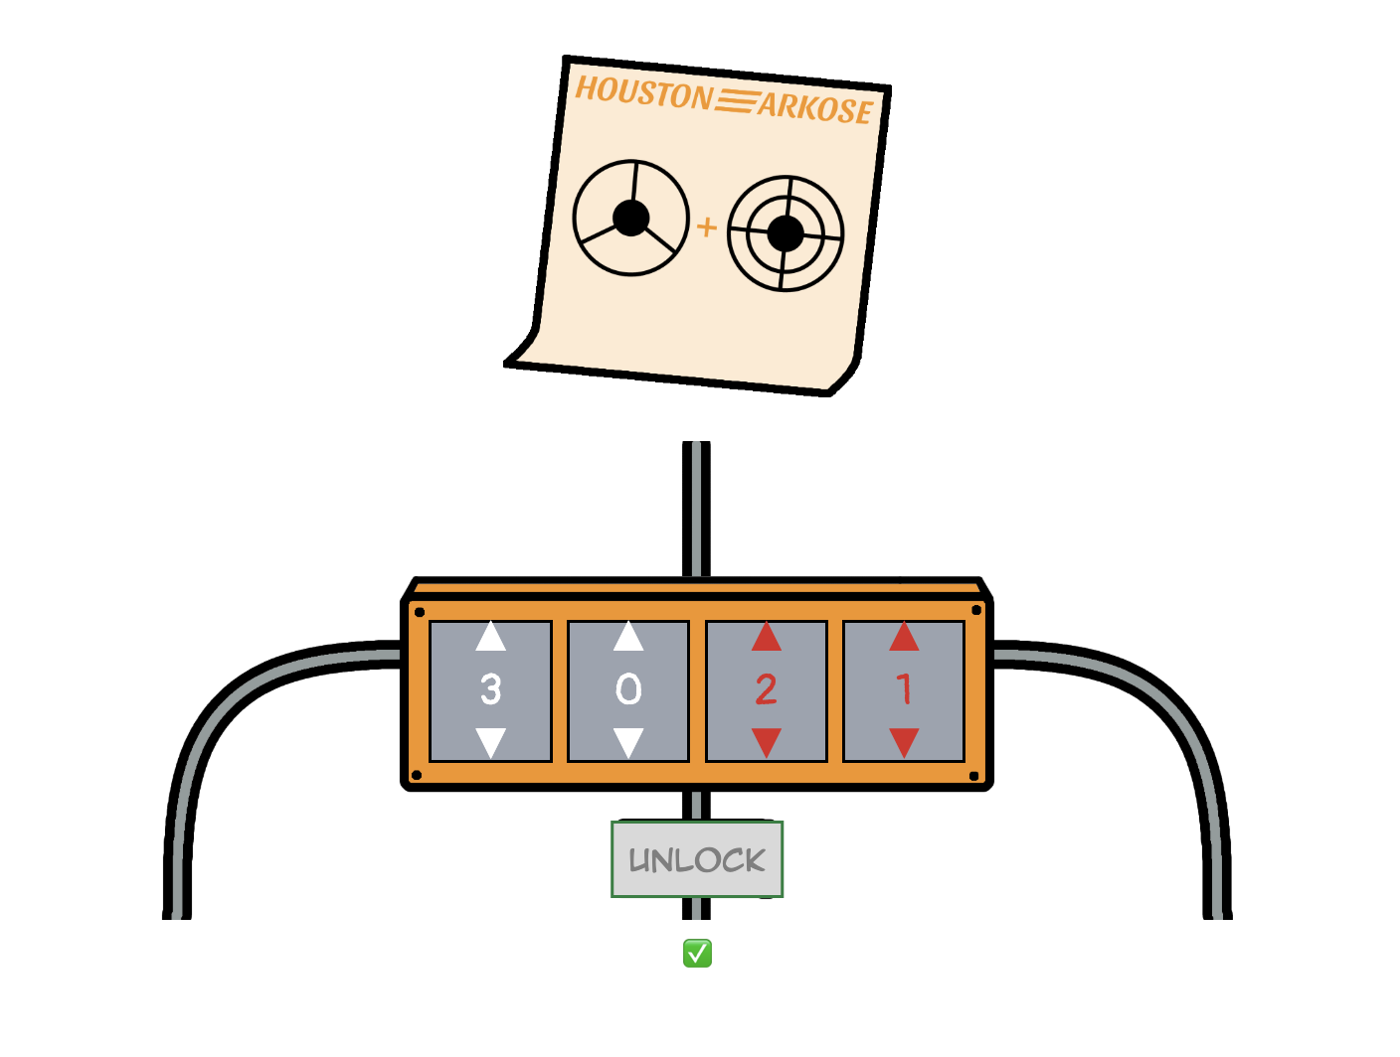
The last view of the ships looks very similar to the hint given on Houston’s sticky note. The white and red numbers on the input clue that we will need to count the number of red and white dots that appear on the Podomorph ships. There are 18 white dots and 13 red dots. However, as the Podomorph numbering system is in base 6, and the lock only accepts digits up to 5, we need to enter these in base 6, leading to the passcode 3021.
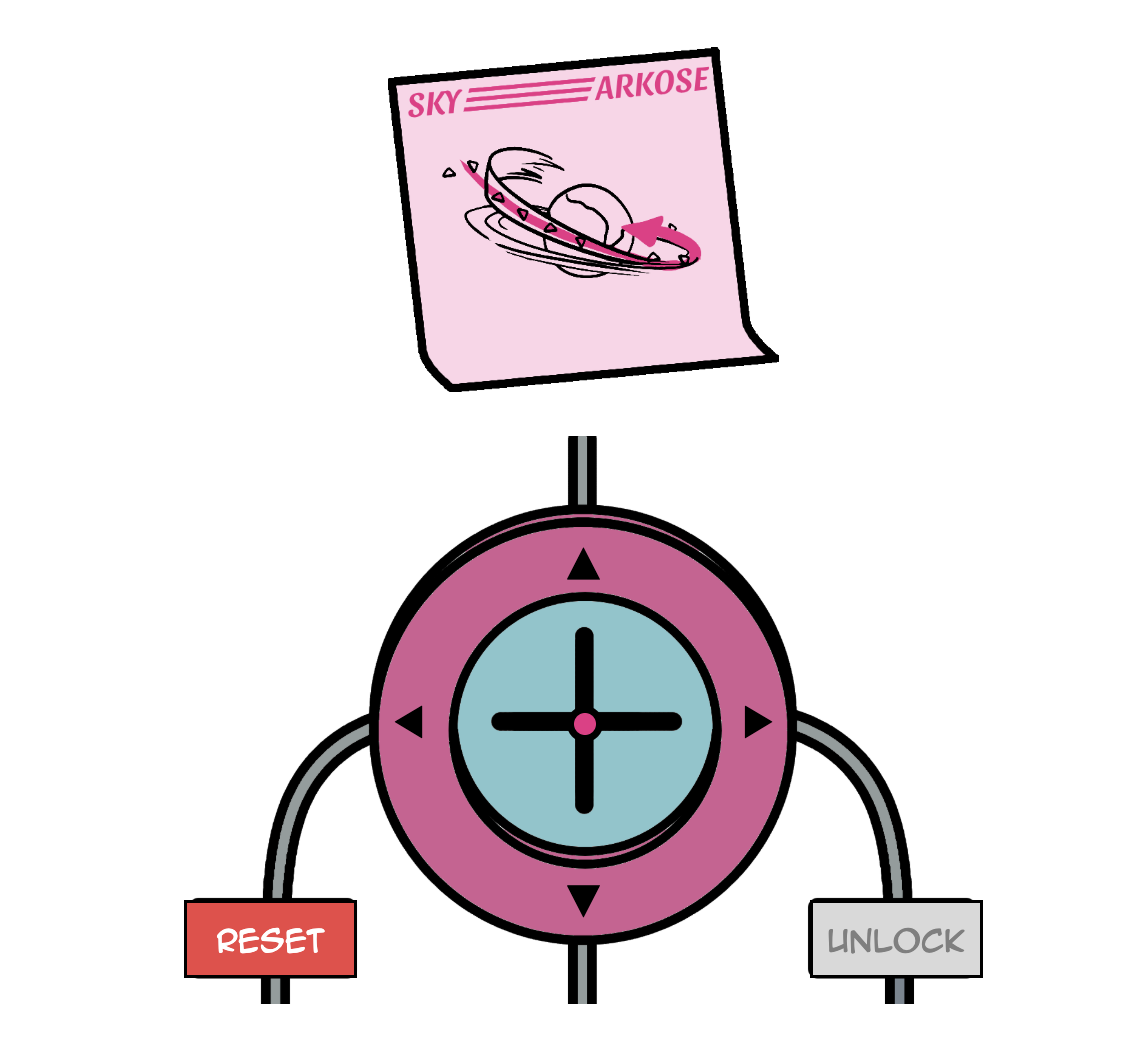
Sky’s Lock
Sky is the Arkose’s pilot, and the clues for their lock can be found in the cockpit, after Matt and Emma successfully activate the cockpit’s controls and fly the ship to safety in Plot a Course.
The password hint on the sticky note shows an arrow going past some triangles and approaching a planet. We need to follow the sequence of triangles shown in the comic to determine which directions to input into the lock. Each triangle can be thought of as a reflector that changes the angle of the ship by 90 degrees. Additionally, we need to match up triangles in one panel to triangles in the next panel based on their decorations in order to get the entire path.
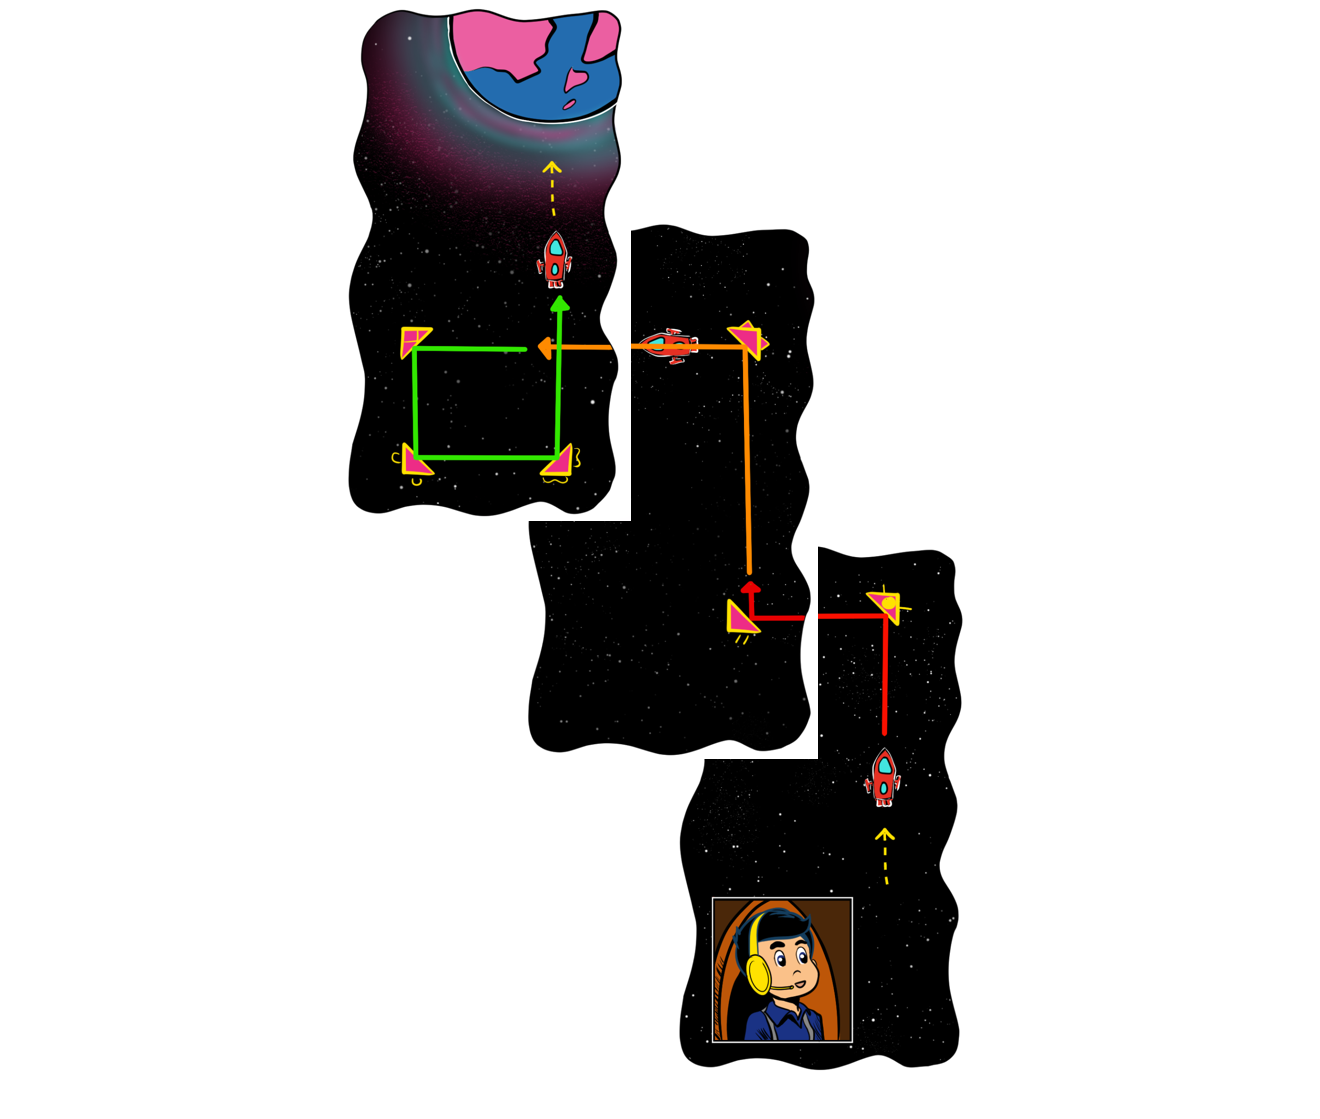
The final sequence we need to enter into the lock is ULULDRU.
The Reactor
After opening each lock on the door, we find the Reactor Room with a reactor that is dangerous and close to exploding. This puzzle presents us with a Keep Talking and Nobody Explodes-style game that we must win in order to solve the puzzle.
There are 5 module types. Ignition, Temperature, Lights & Switches, and Buttons are fairly straightforward modules, although generally more challenging and puzzly than the similar modules in KTANE.
In each module, only Matt and Emma have access to the controls, but only Houston and Sky have access to the rules. For each module, Matt/Emma must describe what they see and have Houston/Sky give instructions on how to complete the task. The rules are fully described in the manuals (Manual 1 and Manual 2), and the modules are randomly generated each game.
Fuel Cells
The fuel cells first require Emma to view the reaction inside the reactor and describe it to Houston and Sky. Houston and Sky must work together to determine which element should be used to stabilize the reactor, reading the instructions and periodic table very carefully. Finally, Matt needs to throw the correct element into the reactor’s chute to stabilize the reaction.
| Reaction Image | Explanation | Element |
|---|---|---|
 |
| Nebulasium (Ne) |
 |
| Eclipsium (E) |
 |
| Darkmatterium (Dm) |
 |
| Observatine (O) |
 |
| Rocketron (Re) |
 |
| Theorium (T) |
 |
| Imaginon (I) |
 |
| Meteorine (Me) |
 |
| Imaginon (I) |
 |
| Universalium (Um) |
Observant solvers may notice that while all other modules in the reactor change each game and come in a random order, the fuel modules are always the same. After successfully completing all modules, the puzzle is automatically solved using the elements that Matt throws into the reactor to spell out an answer:
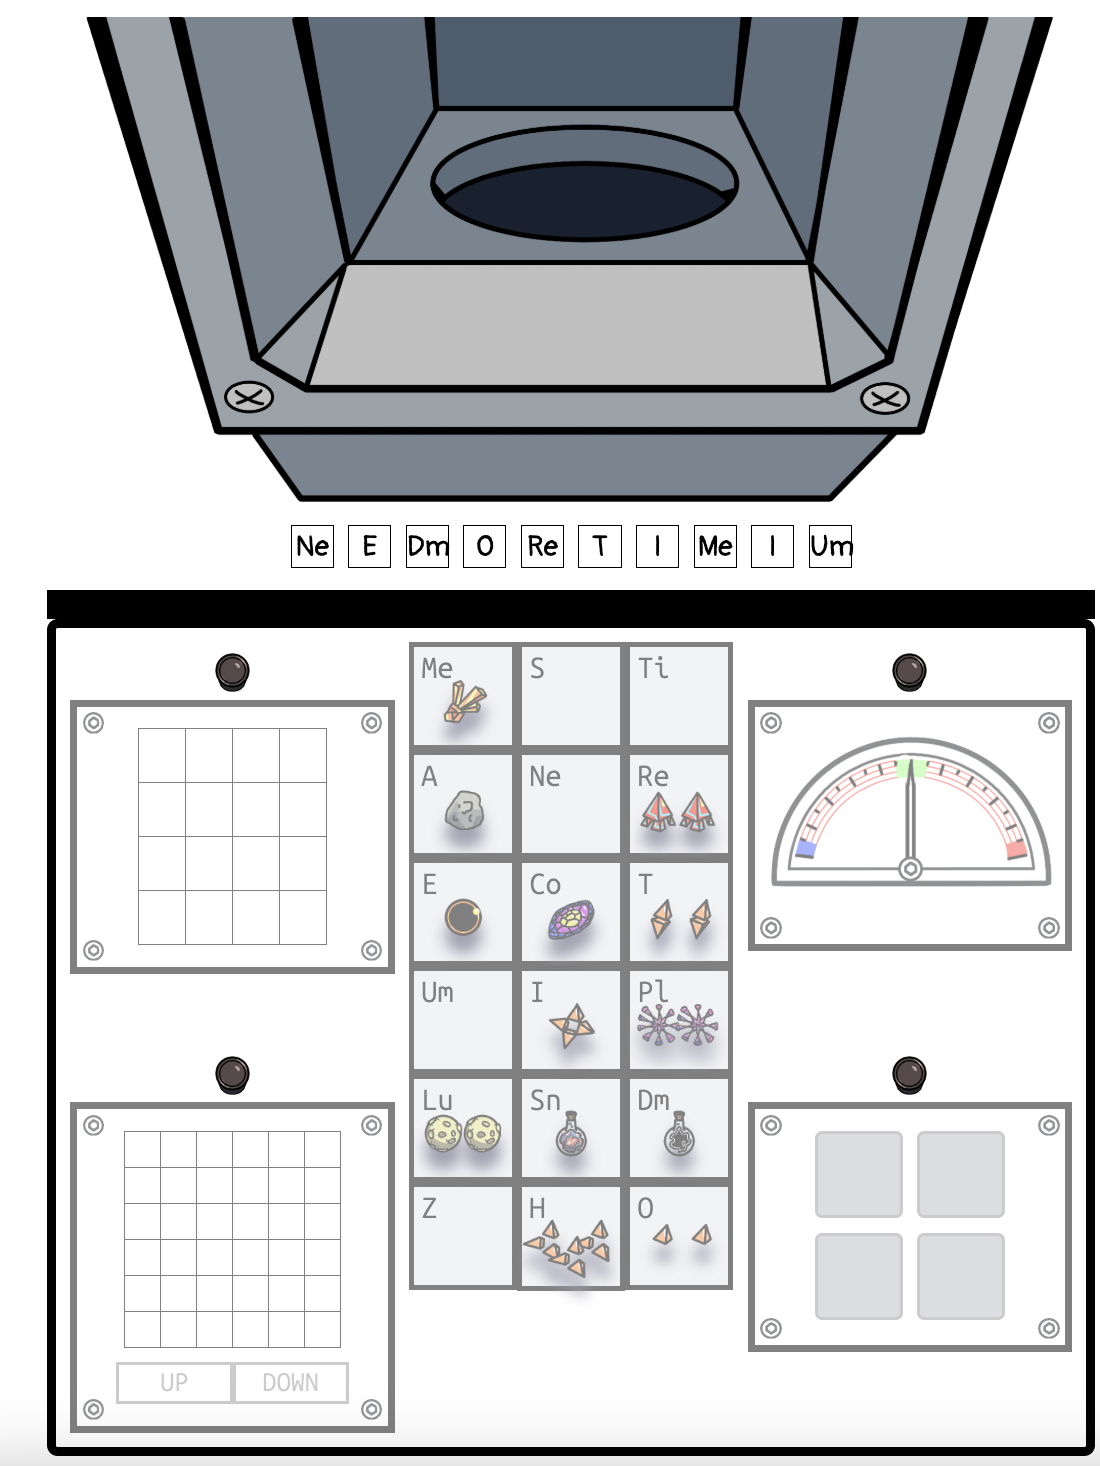
NEED MORE TIMEIUM
Finale
Finally, we head back to the comic page to submit NEED MORE TIMEIUM. Matt and Emma note that while the reactor is temporarily stabilized, the Timeium core must have been stolen (by Lucy) and it won’t hold for long without adding more Timeium. We need to find another supply. Note that Matt’s supply of elements at the reactor controls was also missing Timeium.
Fortunately, as we can see in the comic from the beginning or in the reset popup, Matt and Emma’s time travel watches are powered by Timeium as well.
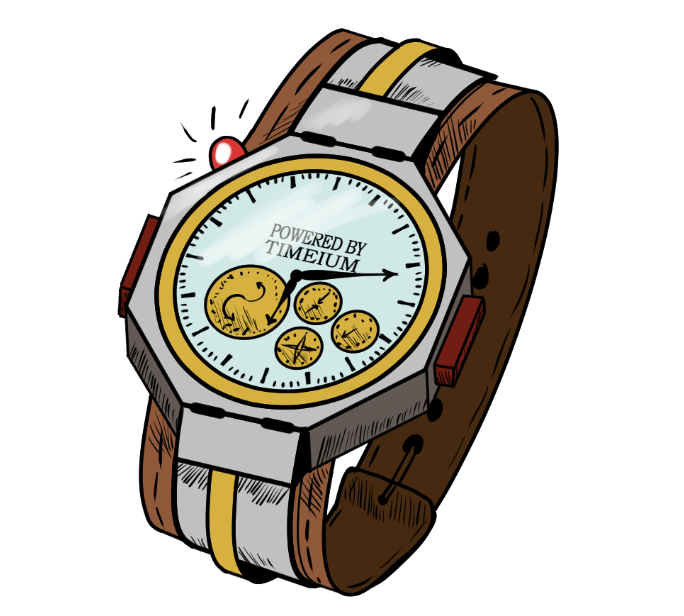
We can drag the watch from where it lives in the corner of the screen, into the center of the reactor, which both destroys the watch and fixes the reactor.
