
Sliding Blocks
Solution
by Ariel Uy
This is an interactive, answerless puzzle with 4 levels. The puzzle is "solved" by completing each of the 4 levels. The puzzles are randomly scrambled, but example solve paths may be found in the Appendix.
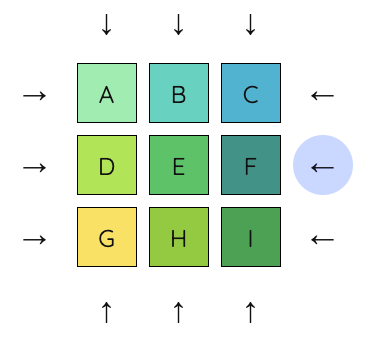
Level 0

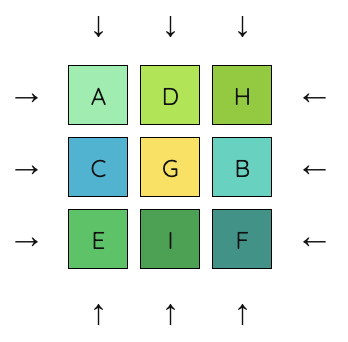
We begin with Level 0, an introduction to the puzzle type. This level is exactly the same as a typical sliding block puzzle, a fairly well-known physical puzzle. The 3x3 version is also known as the 8-puzzle since it has 8 tiles and 1 empty space.
Level 1
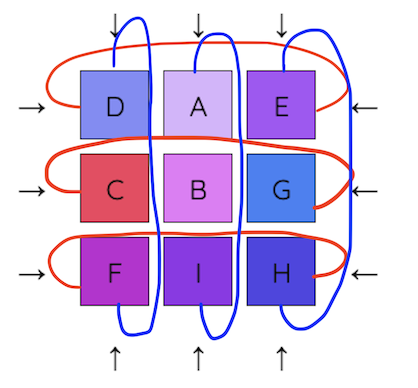
In Level 1 and beyond, the empty space is removed. Additionally, we no longer working with something that could be made into a physical puzzle.
It is not necessary to understand the topology to complete the puzzle, but we may notice that Level 1 takes place on a torus. The top and bottom edges are connected, as are the left and right. For example, if we push a block off the edge to the right, it reappears on the left.
Rubik’s Cube enthusiasts may notice that this level feels very similar to solving a cube, but in 2D and with only one face. The easiest way to solve this level (and the future levels) is to apply some basic commutators and conjugates.
Level 2
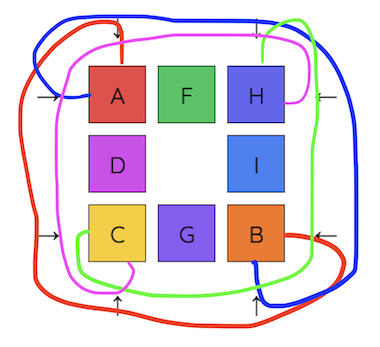
Levels 2 and 3 are more complex, and typically much harder than levels 0 and 1. In Level 2, we do not follow any topology in particular. We can think of each button as "rotating" half of the tiles.
The typical approach to solving this level is to come up with an algorithm to swap a few tiles at once, in a predictable manner. Then, use a sequence of swaps to resolve all of the tiles.
(This level’s mechanic was suggested by Brian Shimanuki. Thanks Brian!)
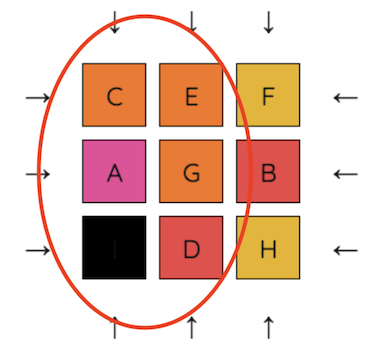
Level 3

Level 3 takes place on a real projective plane(although this knowledge isn’t needed to solve the puzzle). The top and bottom edges are connected, but the direction is reversed - the top-left corner is connected to the bottom-right. Similarly, the left and right edges are connected, but the direction is reversed.
One approach to solving this level is to solve all of the corners first. After solving the corners, the remaining tiles should be easier to solve because they can be solved with only the middle row and middle column.
One thing to note with this level is that parity may become an issue.
Authors' Notes
This puzzle was inspired by topologies with “fundamental polygons generated by parallelograms,” i.e. connecting the edges of a square together in weird ways. Then, I overlaid the topology onto a square puzzle!
I tried a sphere, Möbius strip, and Klein bottle as well, but did not include them for various reasons (hard to implement, too easy, not fun).
Appendix
Level 0 Example Solve Path
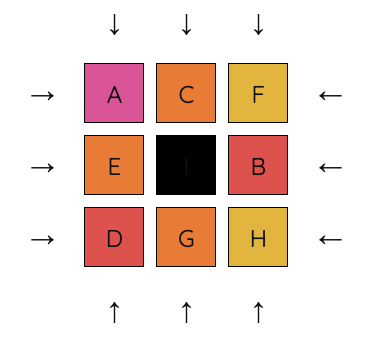
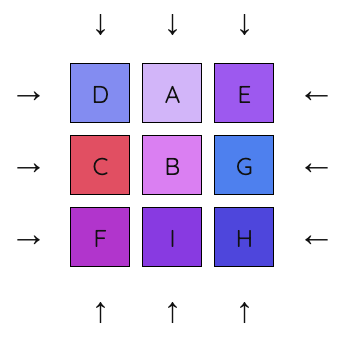
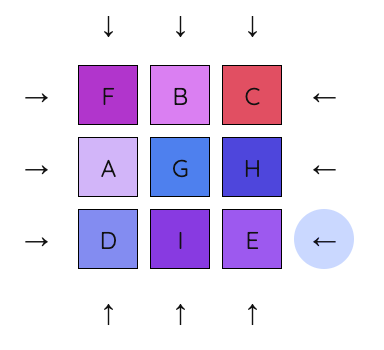
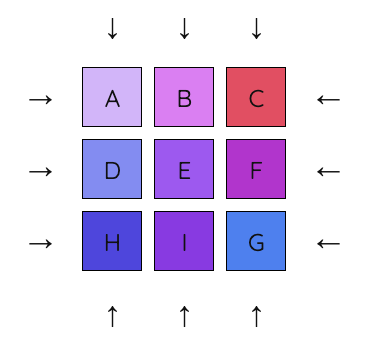
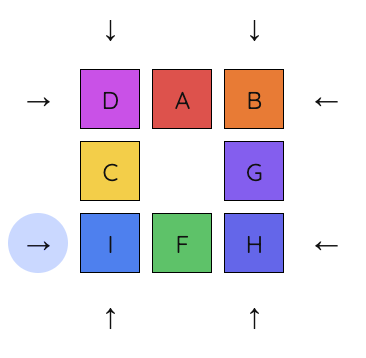
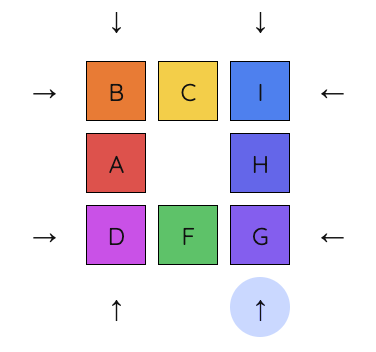
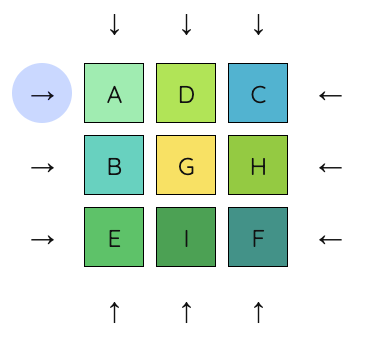
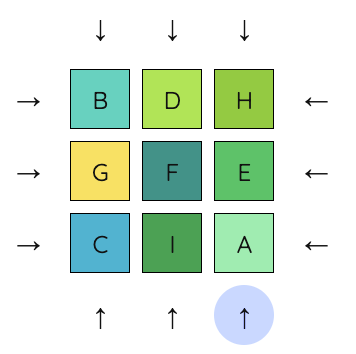
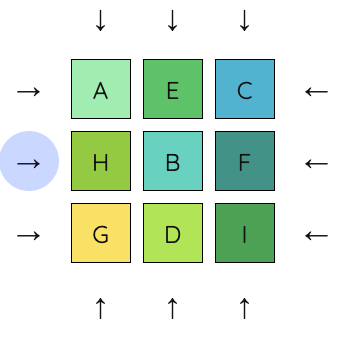
1. Starting position.
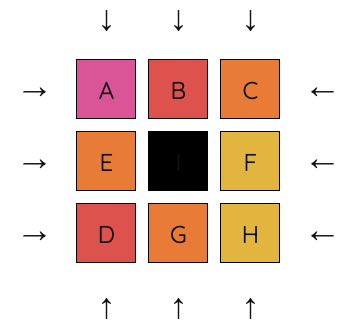
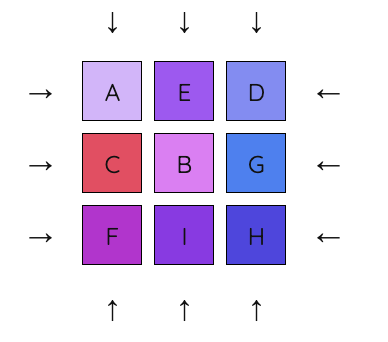
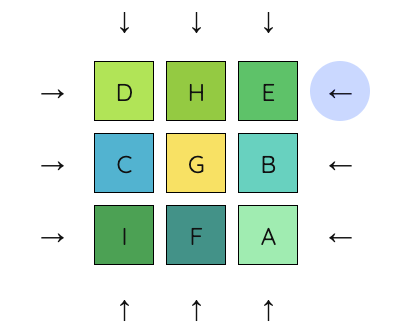
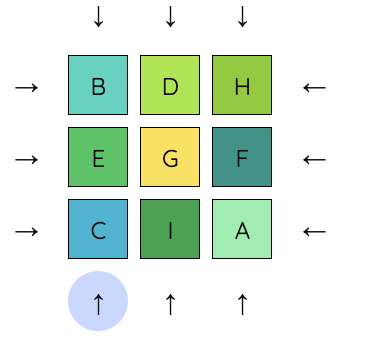
2. “Cycle” these 5 tiles - first move D to the empty space, then G, etc. Until A is in the top left position.
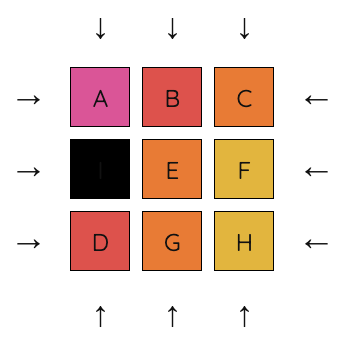
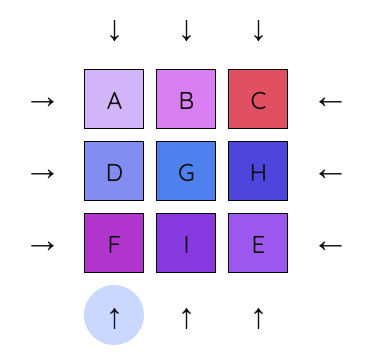
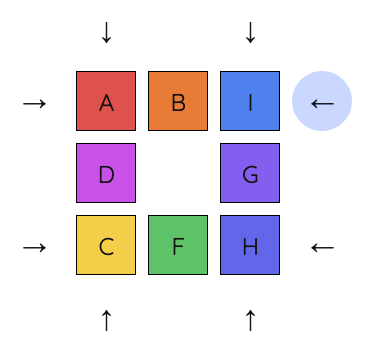
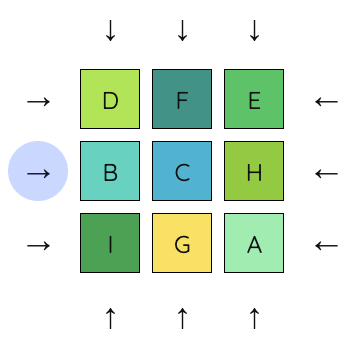
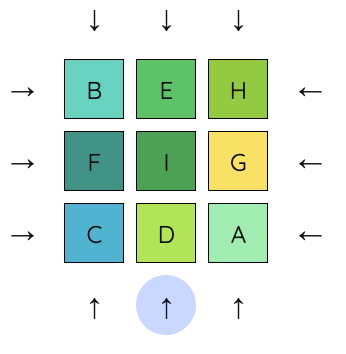
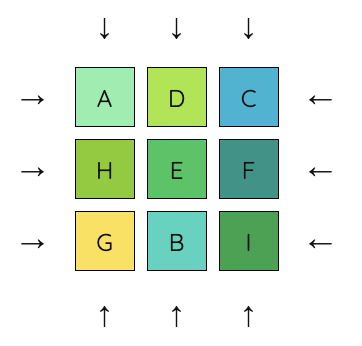
3. Move E out of the way of B, to the left.
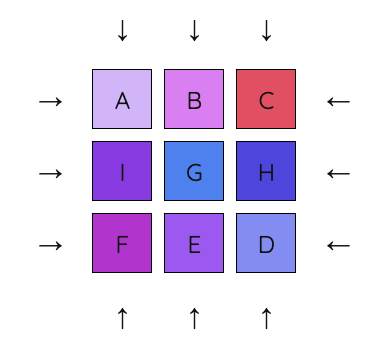
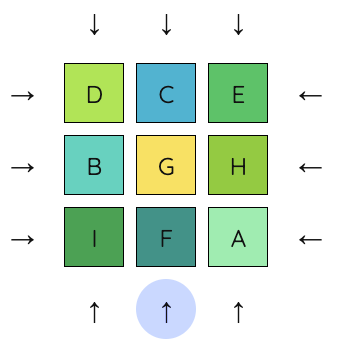
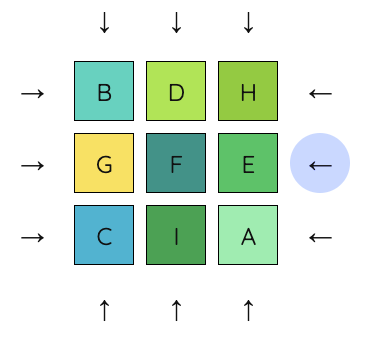
4. Cycle C, F, and B so that B and C are in the correct positions.
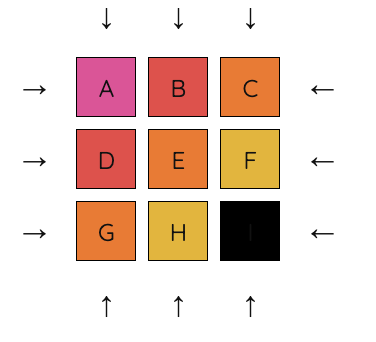
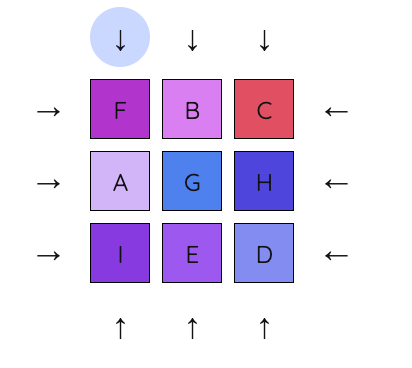
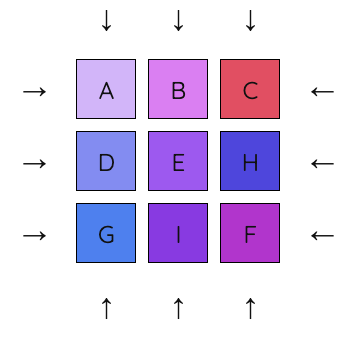
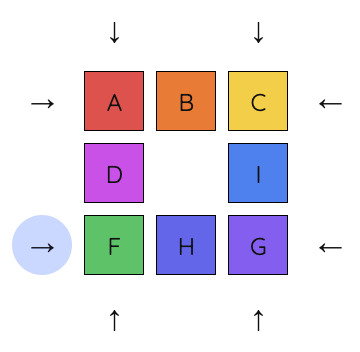
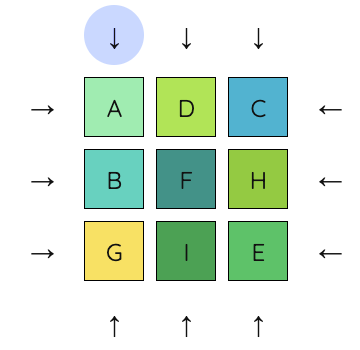
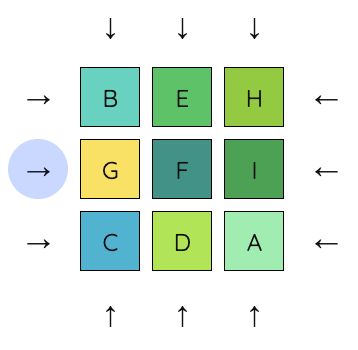
5. Move E out of the way of D, to the right.
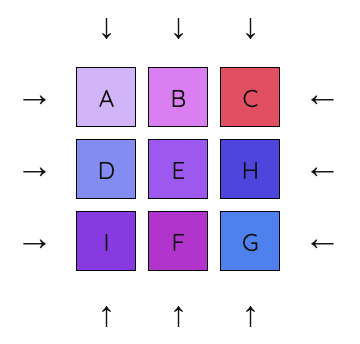
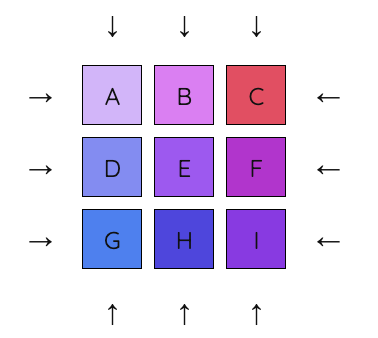
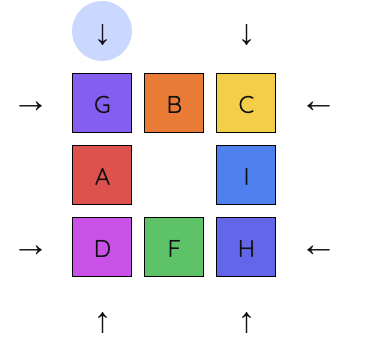
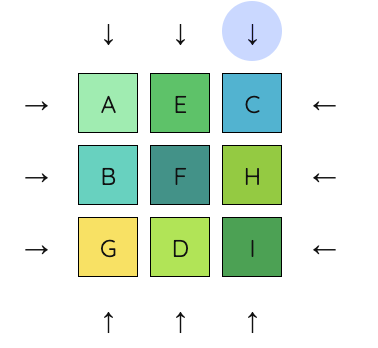
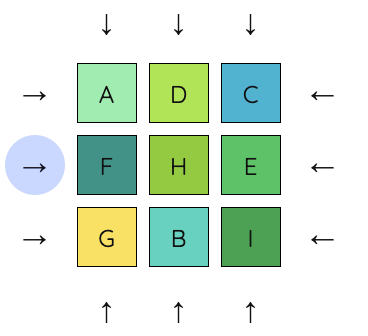
6. Move D into place upwards, then move G and H into place leftwards.
Level 1 Example Solve Path
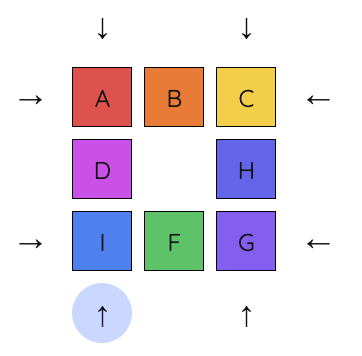
1. Starting position.
2. Move A into place.
3. Move B and C into place. We don’t need to worry about messing up the rest of the grid yet, so we can just move them left and right as necessary.
4. Apply a sequence of 3 moves to move D underneath A. First, move the first column down one to “prepare” to receive D. Next, move D into the first column. Finally, move the first column back up to put both A and D into position.
4. Apply a similar sequence to move E underneath B.
5. We want to apply the same sequence to move F underneath C, but F is already in the third column. So, first move F out of the way.
6. Now apply the 3-move sequence to get F underneath C.
7. Move the bottom row so that it reads GHI.
Level 2 Example Solve Path
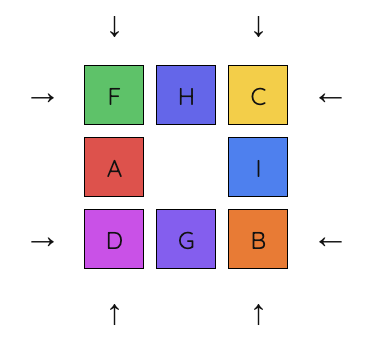
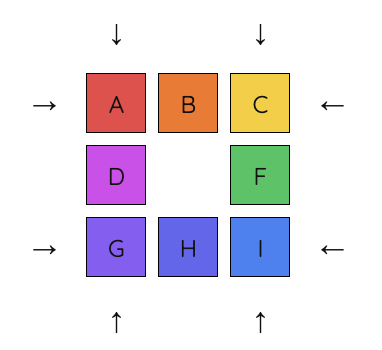
1. Starting position
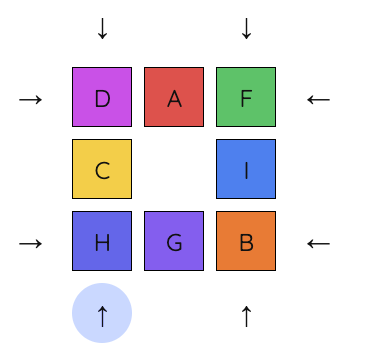
2. First, we will try to connect A and B together so B is clockwise of A. Move A to this position.
3. Move B so it's next to A.
3. Move A and B into position.
4. Move C so it’s clockwise of B.
5. Now that the top row is in position, use a 3-move sequence to swap around the rest of the tiles. This is just one possible sequence. This sequence rotated F, H, and I.
6. By iterating with this sequence, using rotated or flipped versions of it, we can continue swapping tiles until we have the solution.
Level 3 Example Solve Path
1. Starting position
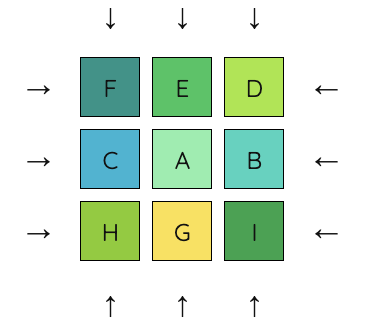
2. First, we will solve the 4 corners, A, C, G, and I. Begin by putting A into place.
3. Next, we will work on getting C into the top right corner. This means we want C to be in the place where H currently is. We will make use of the middle column and middle row to do the swap, since they impact fewer tiles. We begin by moving H into the middle column. Note that this does move A, but we will undo this move at the end of the sequence.
4. Next, we move the middle column down, move C into H’s place, and move the middle column back up.

5. Now, we can undo the previous move (move the first row right) to put A and C into place.
6. Next, we get G into the lower left corner. We will want G to take the place where E currently is. We can move the first column up, move G into E’s place, and move the first column back down.
7. Now we want to get I into place. I should take the place where E currently is. We move E into the middle row by pushing up on the right column.
8. Next, move the middle row left, move I into E’s place, and move the middle row right.

9. Now undo the previous move, and move the right column down.
10. Now all four corners are in place. The remaining pieces can be moved into place moving only the middle row and middle column. First, let’s put E on the left of F.
11. Next, let’s put D on the left of E.
12. Finally, rotate the middle row until it reads DEF and we are done.